下記でトンボのカラーや線幅をカスタマイズすることができます。
global lineW, C, M, Y, K, pt
set lineW to 0.05
--色を入力単位%
set C to 100
set M to 100
set Y to 100
set K to 100
set pt to 2.83466796875

tell application "Adobe Illustrator"
	tell document 1
		set selectedItems to selection
		if selectedItems is {} then
			display dialog "四角をを選択ツールで選択してください。"
			return
		end if
		repeat with selItem in selectedItems
			set myB to geometric bounds of selItem
			my makeTombo(myB)
		end repeat
	end tell
end tell

on makeTombo(myB)
	set X1 to (item 1 of myB) / pt
	set Y1 to (item 2 of myB) / pt
	set X2 to (item 3 of myB) / pt
	set y2 to (item 4 of myB) / pt
	set myGroup to my makeGroup()
	my makeLine(X1 - 13, Y1, X1 - 3, Y1, myGroup) --横罫左上
	my makeLine(X1 - 13, Y1 + 3, X1, Y1 + 3, myGroup) --横罫左上
	my makeLine(X1, Y1 + 13, X1, Y1 + 3, myGroup) --縦罫左上
	my makeLine(X1 - 3, Y1 + 13, X1 - 3, Y1, myGroup) --縦罫左上
	my makeLine(X1 - 13, y2, X1 - 3, y2, myGroup) --横罫左下
	my makeLine(X1 - 13, y2 - 3, X1, y2 - 3, myGroup) --横罫左下
	my makeLine(X1, y2 - 13, X1, y2 - 3, myGroup) --縦罫左下
	my makeLine(X1 - 3, y2 - 13, X1 - 3, y2, myGroup) --縦罫左下
	my makeLine(X2 + 13, Y1, X2 + 3, Y1, myGroup) --横罫右上
	my makeLine(X2 + 13, Y1 + 3, X2, Y1 + 3, myGroup) --横罫右上
	my makeLine(X2, Y1 + 13, X2, Y1 + 3, myGroup) --縦罫右上
	my makeLine(X2 + 3, Y1 + 13, X2 + 3, Y1, myGroup) --縦罫右上
	my makeLine(X2 + 13, y2, X2 + 3, y2, myGroup) --横罫右下
	my makeLine(X2 + 13, y2 - 3, X2, y2 - 3, myGroup) --横罫右下
	my makeLine(X2, y2 - 13, X2, y2 - 3, myGroup) --縦罫右下
	my makeLine(X2 + 3, y2 - 13, X2 + 3, y2, myGroup) --縦罫右下
	my makeLine(X1 - 13, Y1 + (y2 - Y1) / 2, X1 - 3, Y1 + (y2 - Y1) / 2, myGroup)
	--横罫左中
	my makeLine(X1 - 8, Y1 + (y2 - Y1) / 2 - 5, X1 - 8, Y1 + (y2 - Y1) / 2 + 5, myGroup)
	--縦罫左中
	my makeEllipse(X1 - 8 - 1.5, (Y1 + (y2 - Y1) / 2) + 1.5, 3, 3, myGroup)
	--○丸左中
	my makeLine(X2 + 13, Y1 + (y2 - Y1) / 2, X2 + 3, Y1 + (y2 - Y1) / 2, myGroup)
	--横罫左中
	my makeLine(X2 + 8, Y1 + (y2 - Y1) / 2 - 5, X2 + 8, Y1 + (y2 - Y1) / 2 + 5, myGroup)
	--縦罫左中
	my makeEllipse(X2 + 8 - 1.5, (Y1 + (y2 - Y1) / 2) + 1.5, 3, 3, myGroup)
	--○丸右中
	my makeLine(X1 + (X2 - X1) / 2, Y1 + 13, X1 + (X2 - X1) / 2, Y1 + 3, myGroup)
	--縦罫中上
	my makeLine(X1 + (X2 - X1) / 2 - 5, Y1 + 8, X1 + (X2 - X1) / 2 + 5, Y1 + 8, myGroup)
	--横罫中上
	my makeEllipse(X1 + (X2 - X1) / 2 - 1.5, Y1 + 8 + 1.5, 3, 3, myGroup) --○丸中上
	my makeLine(X1 + (X2 - X1) / 2, y2 - 13, X1 + (X2 - X1) / 2, y2 - 3, myGroup)
	--縦罫中下
	my makeLine(X1 + (X2 - X1) / 2 - 5, y2 - 8, X1 + (X2 - X1) / 2 + 5, y2 - 8, myGroup)
	--横罫中下
	my makeEllipse(X1 + (X2 - X1) / 2 - 1.5, y2 - 8 + 1.5, 3, 3, myGroup) --○丸中下
end makeTombo

on makeLine(X1, Y1, X2, y2, myGroup)
	set X1 to X1 * pt
	set Y1 to Y1 * pt
	set X2 to X2 * pt
	set y2 to y2 * pt
	set W to lineW * pt
	tell application "Adobe Illustrator"
		tell document 1
			make new path item at end of myGroup with properties ¬
				{stroke color:{cyan:C, magenta:M, yellow:Y, black:K}, ¬
				stroke width:W, entire path:{{class:path point info, ¬
				anchor:{X1, Y1}}, {class:path point info, anchor:{X2, y2}}}}
		end tell
	end tell
end makeLine

on makeEllipse(X1, Y1, W, H, myGroup)
	tell application "Adobe Illustrator"
		tell document 1
			set X1 to X1 * pt
			set Y1 to Y1 * pt
			set myW to W * pt
			set myH to H * pt
			set W to lineW * pt
			make new ellipse at end of myGroup with properties ¬
				{filled:false, stroked:true, ¬
				stroke color:{cyan:C, magenta:M, yellow:Y, black:K}, ¬
				width:myW, height:myH, position:{X1, Y1}, stroke width:W}
		end tell
	end tell
end makeEllipse

on makeGroup()
	tell application "Adobe Illustrator"
		tell document 1
			if exists group item "TOMBO" then
				set myGroup to group item "TOMBO"
			else
				set myGroup to make group item at beginning ¬
					with properties {name:"TOMBO"}
			end if
		end tell
	end tell
	return myGroup
end makeGroup
 ダウンロードはこちらbubun.zip
InDesign13
ダウンロードはこちらbubun.zip
InDesign13
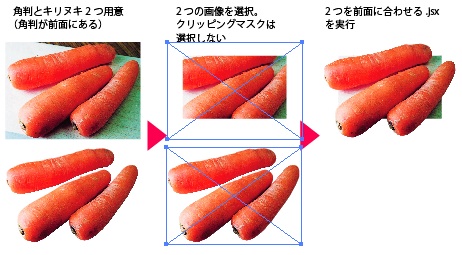 IllustratorCS3で2つの画像を選択します。
このときクリッピングマスクは選択しないでください。
「2つを前面に合わせる.jsx」を実行すると前面の画像の位置とサイズに背面の画像が移動します。「2つを背面に合わせる.jsx」はその逆です。
ダウンロードはこちら
IllustratorCS3で2つの画像を選択します。
このときクリッピングマスクは選択しないでください。
「2つを前面に合わせる.jsx」を実行すると前面の画像の位置とサイズに背面の画像が移動します。「2つを背面に合わせる.jsx」はその逆です。
ダウンロードはこちら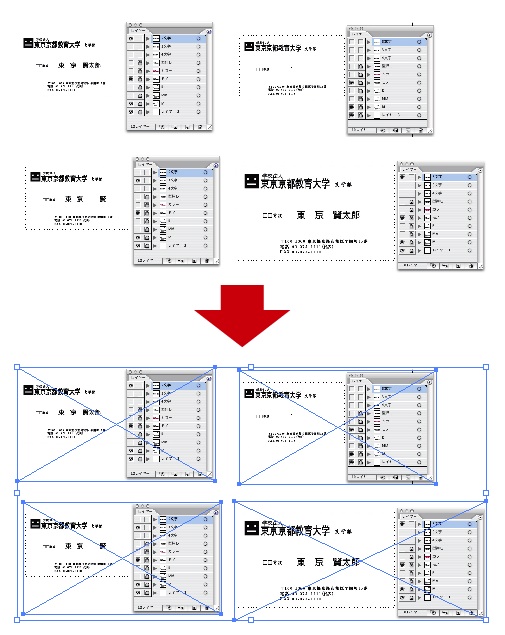 ダウンロードはこちら
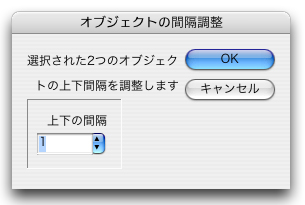
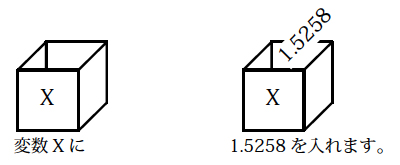
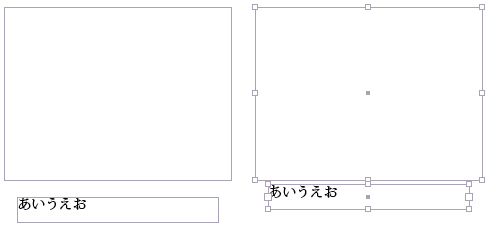 数値を入力するとその値分の間隔になります。
ptでもmmでも環境依存なんでしょうね。
ダウンロードはこちら
数値を入力するとその値分の間隔になります。
ptでもmmでも環境依存なんでしょうね。
ダウンロードはこちら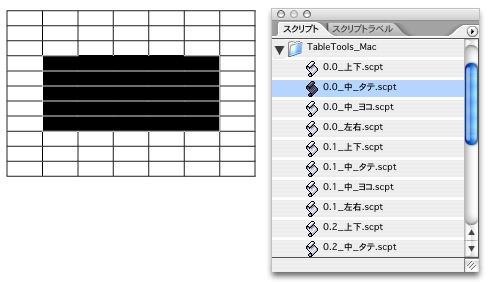 0.0_中_タテ 選択セルの中のタテ罫を0mmにします。
0.1_中_タテ 選択セルの中のタテ罫を0.1mmにします。
0.2_中_タテ 選択セルの中のタテ罫を0.2mmにします。
0.0_中_タテ 選択セルの中のタテ罫を0mmにします。
0.1_中_タテ 選択セルの中のタテ罫を0.1mmにします。
0.2_中_タテ 選択セルの中のタテ罫を0.2mmにします。
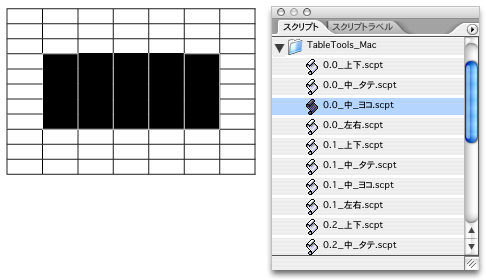 0.0_中_ヨコ 選択セルの中のヨコ罫を0mmにします。
0.1_中_ヨコ 選択セルの中のヨコ罫を0.1mmにします。
0.2_中_ヨコ 選択セルの中のヨコ罫を0.2mmにします。
0.0_中_ヨコ 選択セルの中のヨコ罫を0mmにします。
0.1_中_ヨコ 選択セルの中のヨコ罫を0.1mmにします。
0.2_中_ヨコ 選択セルの中のヨコ罫を0.2mmにします。
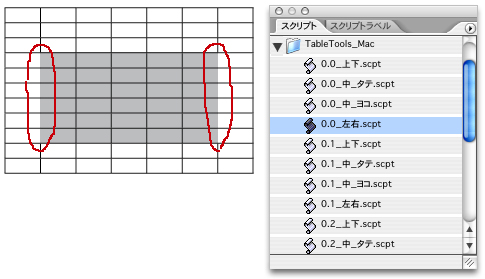 0.0_左右 選択セルの左右を0mmにします。
0.1_左右 選択セルの左右を0.1mmにします。
0.2_左右 選択セルの左右を0.2mmにします。
0.0_左右 選択セルの左右を0mmにします。
0.1_左右 選択セルの左右を0.1mmにします。
0.2_左右 選択セルの左右を0.2mmにします。
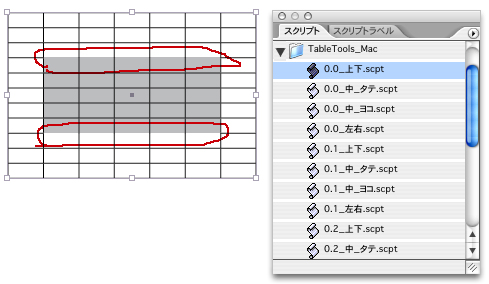 0.0_上下 選択セルの上下を0mmにします。
0.1_上下 選択セルの上下を0.1mmにします。
0.2_上下 選択セルの上下を0.2mmにします。
ダウンロードはこちら
JS版MacWin両方用
0.0_上下 選択セルの上下を0mmにします。
0.1_上下 選択セルの上下を0.1mmにします。
0.2_上下 選択セルの上下を0.2mmにします。
ダウンロードはこちら
JS版MacWin両方用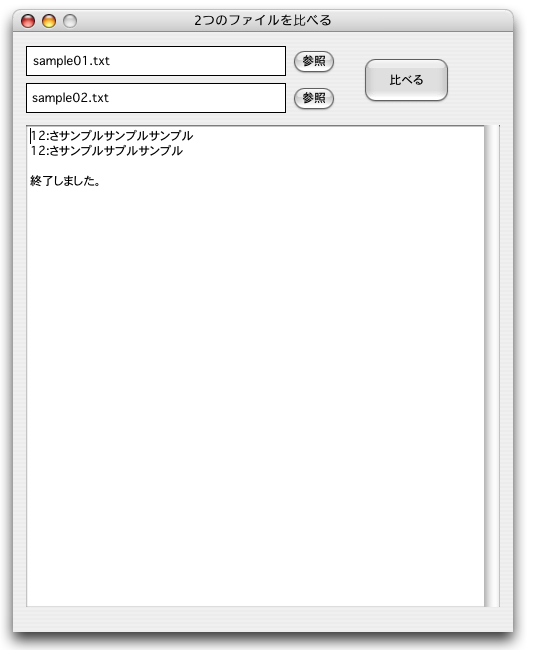 ■■■使い方■■■
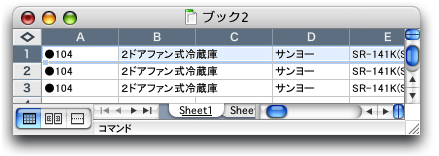
2つのファイルを比べる(OS X)を起動して
古いファイル、新しいファイルをドロップします。
比べるボタンをクリックすると新旧ファイルで内容が違う行番号と行を表示します。
ダウンロードはこちら
■■■使い方■■■
2つのファイルを比べる(OS X)を起動して
古いファイル、新しいファイルをドロップします。
比べるボタンをクリックすると新旧ファイルで内容が違う行番号と行を表示します。
ダウンロードはこちら
 検索置換大文字Aをaに.jsx
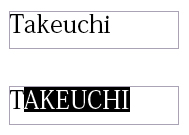 検索置換小文字aをAに.jsx
 検索置換全角数字を半角に.jsx
ダウンロードはこちら
検索置換全角数字を半角に.jsx
ダウンロードはこちら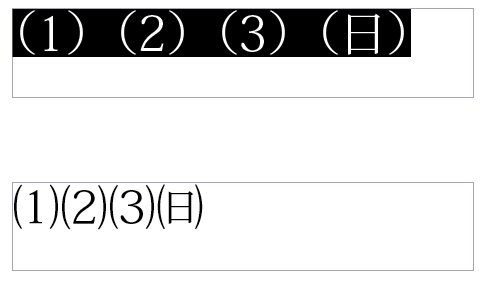 ダウンロードはこちら
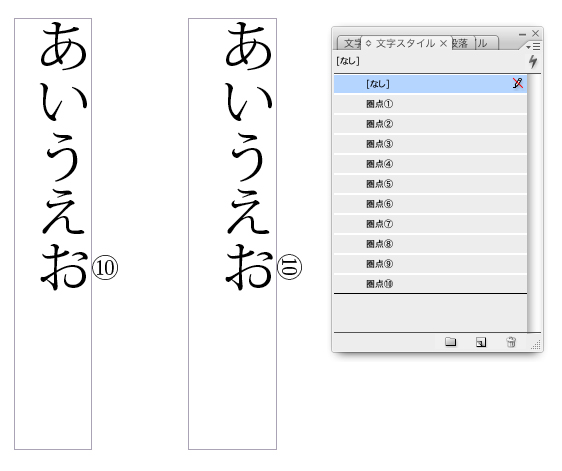 また、なんで圏点設定せずに文字スタイルを当てるのかというと
そういう仕事で使ったからです。
処理したい文字列をIビームカーソルで選択して実行してください。
ダウンロードはこちら
また、なんで圏点設定せずに文字スタイルを当てるのかというと
そういう仕事で使ったからです。
処理したい文字列をIビームカーソルで選択して実行してください。
ダウンロードはこちら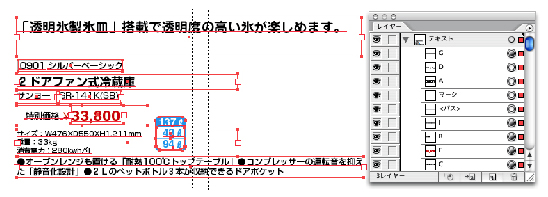
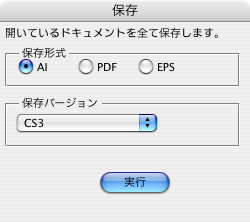 次に保存フォルダを聞いてきますので選択します。
次々に保存されて閉じていきます。
PDF保存ではバージョンは無視されます。
上位バーションで保存するとエラーになります。
フォントのエンベットなどはデフォルト値が使われます。
ダウンロードはこちら
次に保存フォルダを聞いてきますので選択します。
次々に保存されて閉じていきます。
PDF保存ではバージョンは無視されます。
上位バーションで保存するとエラーになります。
フォントのエンベットなどはデフォルト値が使われます。
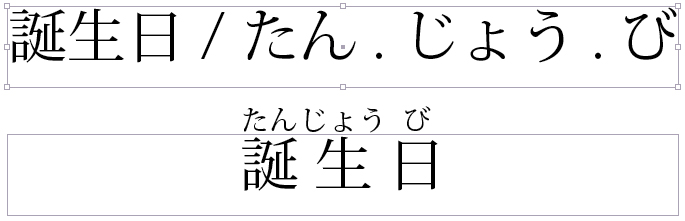
ダウンロードはこちら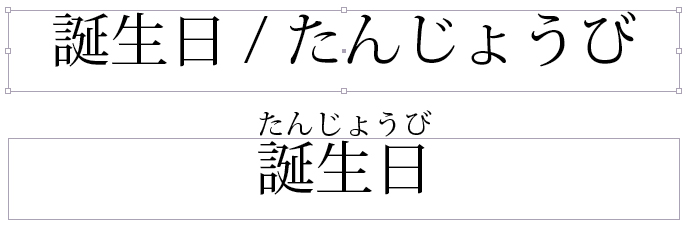 誕生日/たん.じょう.び
なら誕生日にモノルビ"."区切りで付きます。
(普通こういうのは","区切りとかなのですがWindowsのテンキーでも打てるピリオドにしました。)
誕生日/たん.じょう.び
なら誕生日にモノルビ"."区切りで付きます。
(普通こういうのは","区切りとかなのですがWindowsのテンキーでも打てるピリオドにしました。)
 ルビ処理したい文字列をIビームカーソルで選択して実行してください。
ダウンロードはこちら
ルビ処理したい文字列をIビームカーソルで選択して実行してください。
ダウンロードはこちら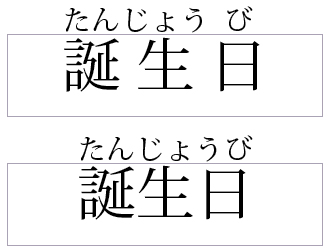 ↓グループルビがモノルビに("/"区切りで)
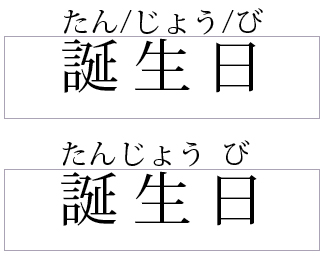 ↓グループルビがモノルビに(1ルビ1文字なら区切らなくてもOK)
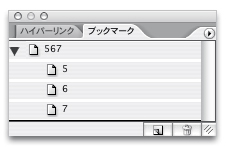
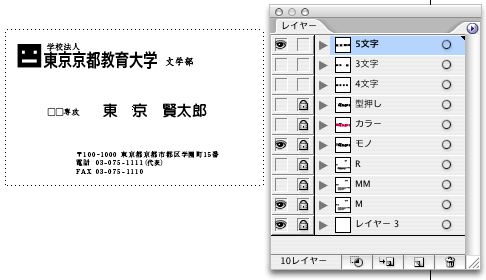
 ドキュメントの場合
ロックされていないレイヤーをいったん非表示にして
ドキュメントの場合
ロックされていないレイヤーをいったん非表示にして
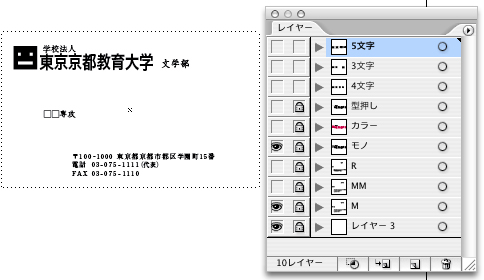 「5文字」レイヤーを表示してファイル名「5文字」で書き出し
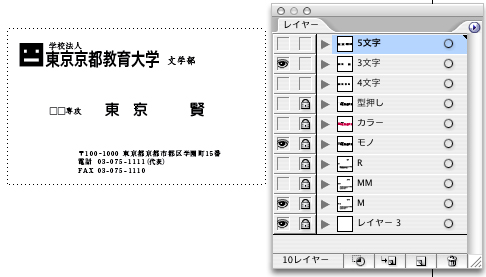
 「3文字」レイヤーを表示してファイル名「3文字」で書き出し
 「4文字」レイヤーを表示してファイル名「4文字」で書き出し
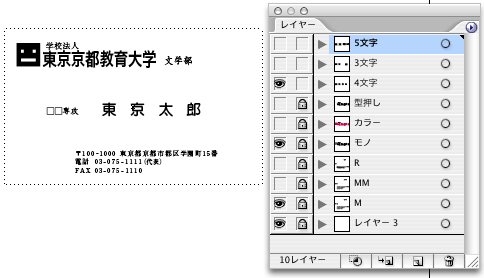 完成
ダウンロードはこちら
完成
ダウンロードはこちら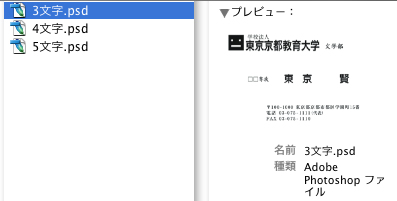 AppleScriptなのでMac専用です。
■■■使い方■■■
Illustratorドキュメントを開きます。
スクリプト編集プログラムで開き実行してください。
ロールオーバーか標準か聞いてきます。
ロールオーバーを選ぶとファイル名に"_h"が付きます。
ダウンロードはこちら
AppleScriptなのでMac専用です。
■■■使い方■■■
Illustratorドキュメントを開きます。
スクリプト編集プログラムで開き実行してください。
ロールオーバーか標準か聞いてきます。
ロールオーバーを選ぶとファイル名に"_h"が付きます。
ダウンロードはこちら
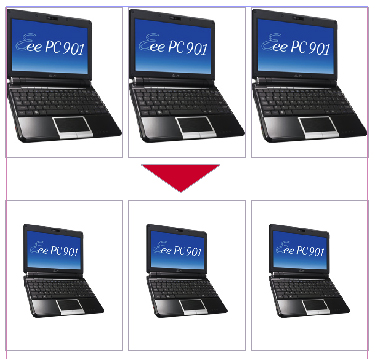
 ↓
↓
 ダウンロードはこちら
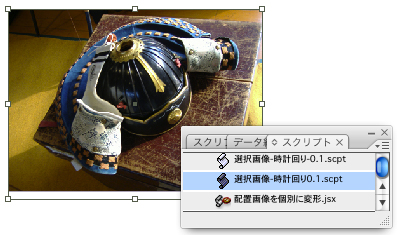
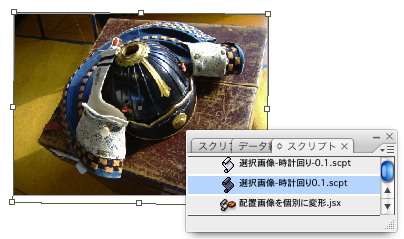 こんな感じにちょっとだけ回転
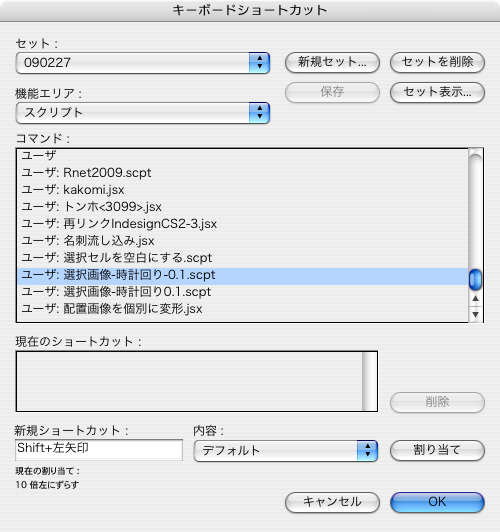 ショートカットを割り当てるのがおすすめです。
ここからダウンロード
ショートカットを割り当てるのがおすすめです。
ここからダウンロード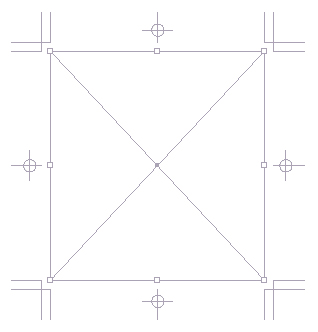 ダウンロードはこちら
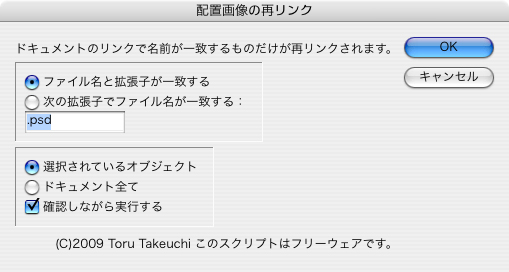 これがダイアログです。
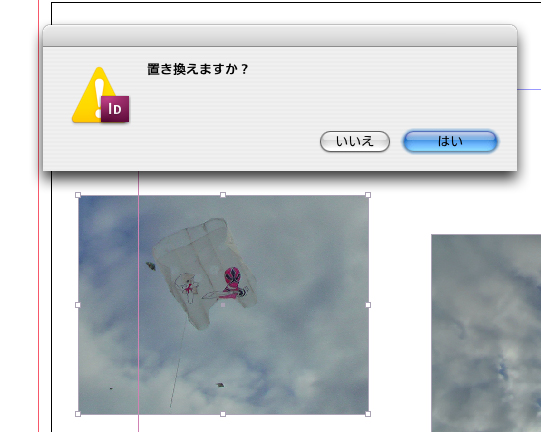 差し替えるか聞いてきます。
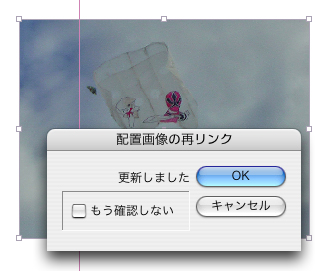 差し替え結果も表示してOKなら次へ進みます。
ダウンロードはこちら
差し替え結果も表示してOKなら次へ進みます。
ダウンロードはこちら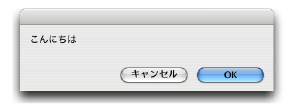 display dialog は変数を単に表示するだけで今入っている変数の値を確認するデバッグ用としてつかえる。
入力
display dialog は変数を単に表示するだけで今入っている変数の値を確認するデバッグ用としてつかえる。
入力
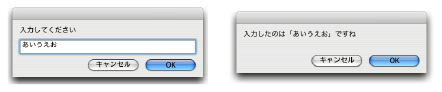 入力された文字は変数myAnswerの中に入っている。text returnedで取り出す事が出来る。
ボタン
入力された文字は変数myAnswerの中に入っている。text returnedで取り出す事が出来る。
ボタン
 押されたボタンも変数myAnswerに入っている。こちらはbutton returnedで取り出す。
入力とボタン
押されたボタンも変数myAnswerに入っている。こちらはbutton returnedで取り出す。
入力とボタン
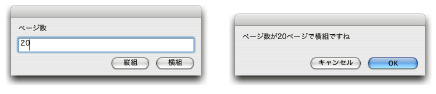 入力した文字と押されたボタン両方を調べる事も出来る。
選択
入力した文字と押されたボタン両方を調べる事も出来る。
選択
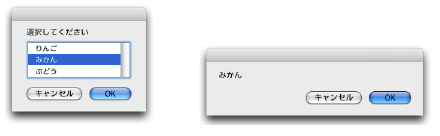 こちらはリストから選択する。さらに下記はリストから複数選択可能にしたもの。どちらも値はリストで返ってくるので要注意。
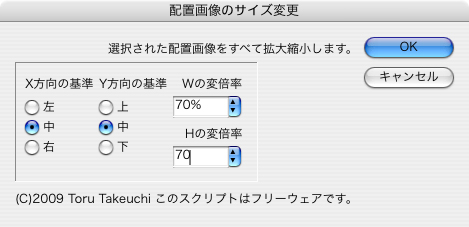
 InDesignCS2からの変形を再実行
http://study-room.info/id/study/main4/study13.html
とはちょっと違って、選択された配置画像をすべて拡大縮小します。
InDesignCS2からの変形を再実行
http://study-room.info/id/study/main4/study13.html
とはちょっと違って、選択された配置画像をすべて拡大縮小します。